Django Models: Building a Blog
GOALS:
- Introduce Django Models and Databases
- Add a Blog to our Site
- Use Python to analyze Blog Data
Starting the Blog
We will add a blog app to our site in the familiar manner. Be sure that
you start by navigating to your project directory and activate the
existing virtual environment (pipenv shell). Now, we create the new
application with
python manage.py startapp blog
Next, be sure to add this app to your settings.py file in the main
project directory.
Django Models
As we saw in our earlier applications, we had a default models.py
file. The models are Django’s place to structure database elements.
We will see how to use the admin console to produce entries to this
database for our blog. For example, suppose we want to be able to parse
Title, Author, Body, Created Date, and Published Date. We will
create fields for these that are then stored as data in a default SQLite
database.
To begin, open the models.py file. There are a variety of kinds of
fields that we can use, but we will start with some basics. To see more
refer to the Django Field documentation:
https://docs.djangoproject.com/en/2.0/ref/models/fields/#common-model-field-options
from django.db import models
from django.contrib.auth.models import User
from django.utils import timezone
from django.urls import reverse


# Create your models here.
class Post(models.Model):
    title = models.CharField(max_length = 200)
    author = models.ForeignKey(User,on_delete = models.CASCADE, related_name = 'author')
    body = models.TextField()
    created_date = models.DateTimeField(blank = True, null = True)
    published_date = models.DateTimeField(blank=True, null=True)
This will allow us to login to the website and directly enter new blog
posts with each of these fields. Notice that the title is a
CharField whose length has been limited. The author is a
ForeignKey that maps to user. This is a many to one element, that
allows the user to create multiple posts. The body is a
TextField and our created_date and published_date are
DateTimeField types.
These will make more sense once we see the administration side which we will activate now.
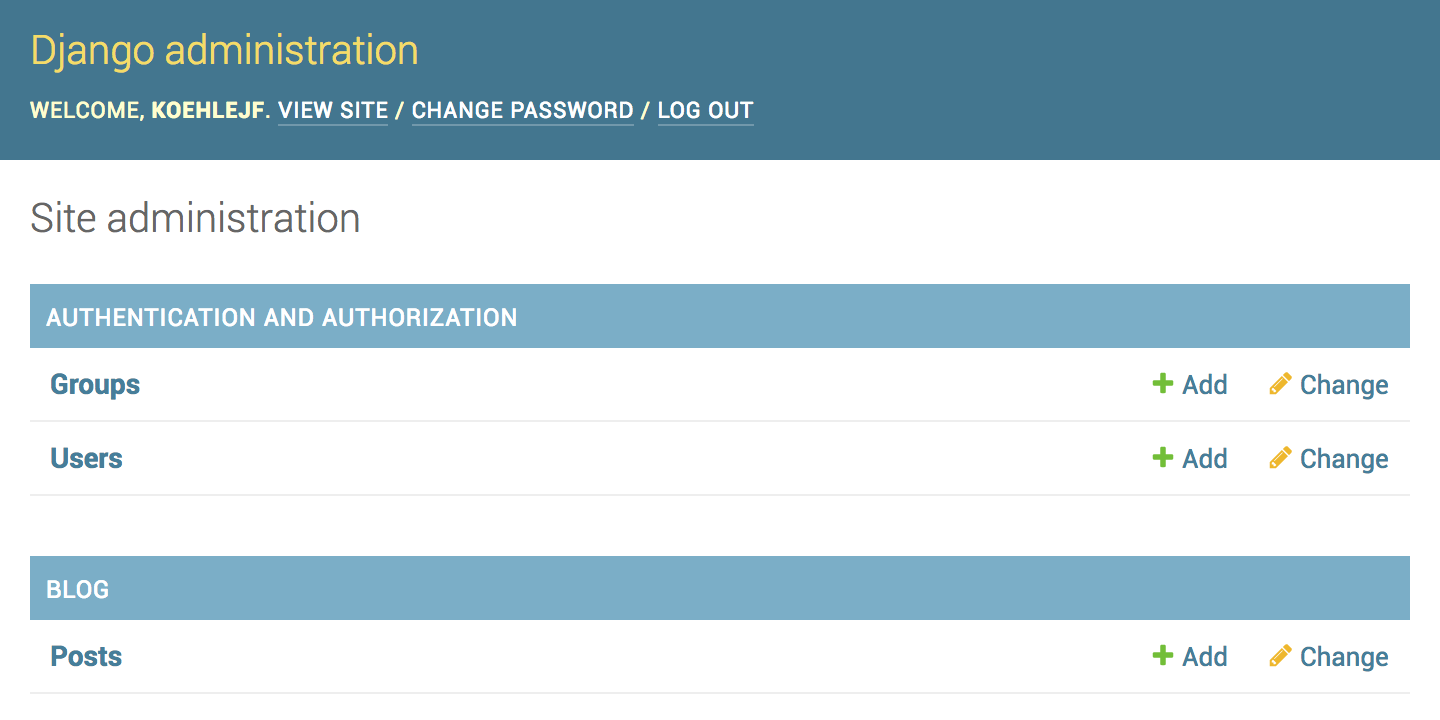
Django Administration
The admin side of Django allows us to login to the site and work in a friendly browser view. We start with creating a login for the admin in the terminal with:
python manage.py createsuperuser
You will be promted to enter a username, email, and password. Remember
these, as you will be using them in just a minute. Before being able to
login, we register the model class we’ve created in our admin.py
file as follows.
from django.contrib import admin
from .models import Post

admin.site.register(Post)
Now, run our server and head to 127.0.0.1:8000/admin. Hopefully after logging in, you will see the following:
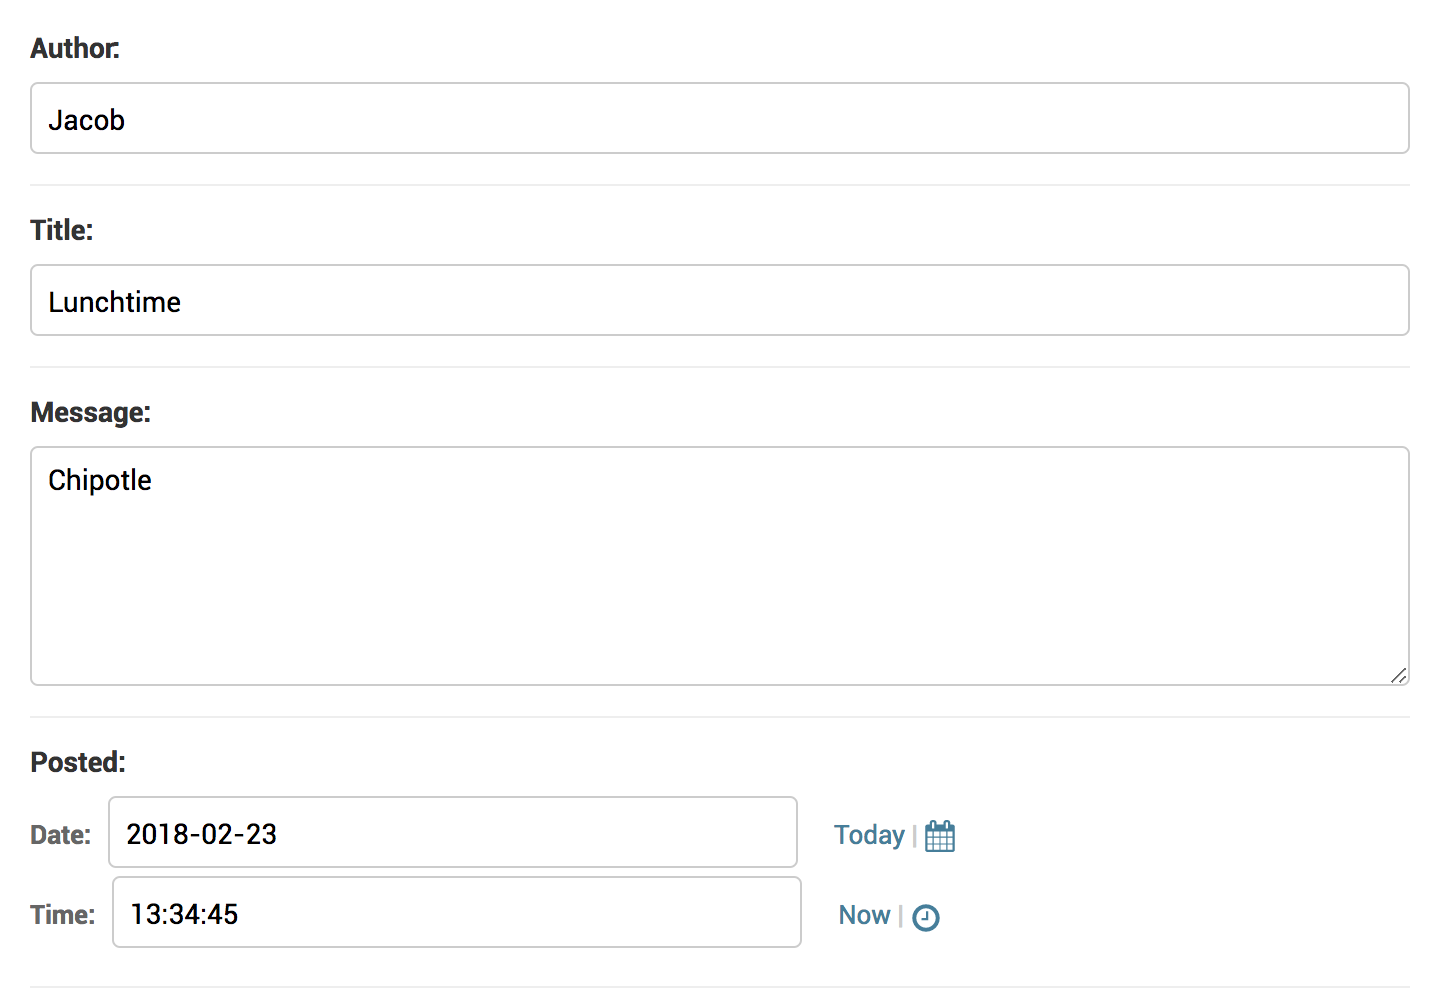
Go ahead and add a few posts with arbitrary information such as:
Accessing our Data: QuerySets
Once you have a few data fields entered, you can go access this information in the shell. Shut your server down, and install IPython into your virtual enviornment. Next, start IPython up in the terminal running:
python manage.py shell
Now, we are using python just as we have in a Jupyter notebook. We want to load our model to examine, just as we’ve imported other objects in the past.
from blog.models import Post
Now we have access to all the attributes of the Post. Recall that when
we defined the Post class, we gave it attributes named
title, author, and body. We can display these looping through
the Post objects.
for title in Post.objects.all():
    print title.title
Blog View
Much like we used the TemplateView for our earlier applications, we
will use two additional view types that Django has for typical viewing
behavior. First, is the ListView. This will connect with our data
and allow us to list specific pieces of it. Makes sense for a blog
homepage.
Create a new view, import the ListView, and a blank base.html
and home.html file.
from django.views.generic import ListView

from . models import Post

class BlogListView(ListView):
    model = Post
    template_name = 'home.html'
Create the base much as our earlier example, but place the content
inside of a <div> tag as follows:
<div class = "container">
    {% block content %}
    {% endblock content %}
</div>
The ListView contains an object_list that we can use to access
the elements of the model in a view, similar to how we accessed them in
the shell before. We will do this by looping through the blog entries
and displaying the title and body of the entries.
{% block content %}
  {% for post in object_list %}
    <div class="post-entry">
      <h2><a href="">{{ post.title }}</a></h2>
      <p>{{ post.body }}</p>
    </div>
  {% endfor %}
{% endblock content %}
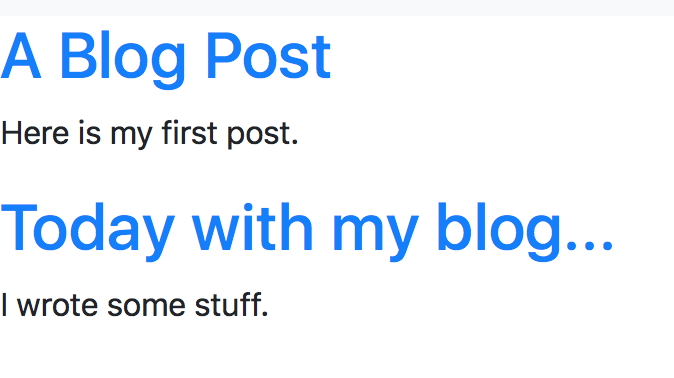
Finally, we create a url to our blog, add this to our navigation, and fire up the server. We should see something that looks like a list of our entries with the title and body of the post.
Adding Individual Blog Pages
While our blog pages now have a home, we would like to link to these
pages and see the entire blog entry. To do so, we will create a template
named blog_detail.html and use a DetailView to display the
details of the blog content. We need three things here; a view for the
detail pages, a template for them, and a url that maps to these.
The view for the individual blogs should feel familiar. We import the
DetailView and create a class based view with the template named
blog_detail.html.
class BlogDetailView(DetailView):
    model = Post
    template_name = 'blog_detail.html'
Next, we can create our template in the templates folder named
blog_detail.html. We will ask for the detail object_list
containing the model elements and return the title and body of
the blog.
{% block content %}

    <div class="post-entry">
      <h2>{{ post.title }}</h2>
      <p>{{ post.body }}</p>
    </div>

{% endblock content %}
Finally, we create the urls. We should recognize that now we are creating a list of urls, unlike our earlier work. We will make use of the fact that Django provides each entry in the database with an index called a primary key. In other words, my first blog post has primary key 1, my second 2, and so on. Thus, we can create urls based on these indicies as follows.
from django.urls import path, include

from . import views

urlpatterns = [
    path('blog/', views.BlogListView.as_view(), name = 'blog'),
    path('blog/<int:pk>/', views.BlogDetailView.as_view(),
         ]
In a similar manner, we can head over to our templates and attach href values to these titles based on the primary key as follows:
html <a href="{% url 'blog_detail' post.pk %}">Title</a>